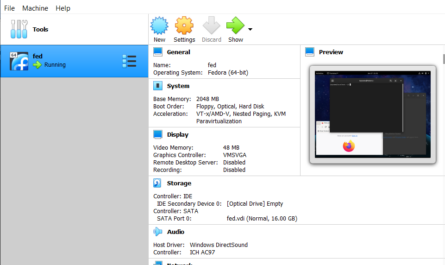
Let’s say you created a virtual machine in virtual box and when you set it up, you set it to a 30GB hard drive size.
Then one day, you’re working on it and find out you’re out of space.
Well, let’s get that fixed.
In this setup, the host machine is a Windows 10 install with Elementary OS as the virtual machine we need to resize.
Of course, this works if you need to resize a drive from 8GB to 20GB or whatever size you need to go up. This does not cover making the drive smaller.
Step 1.
Resize the virtual machine in VirtualBox.

Go to File > Virtual Media Manager
Step 2.
Select the virtual machine hard drive you want to resize and then click “Properties.”

Step 3.
When you click “Properties”, it will show you the slider to resize your drive. Slide it up to the new size.

Step 4.
You can then click “Close” on the virtual media manager window and start your virtual machine.
When you start your machine, you’ll notice, the drive hasn’t gone up in size. That’s because your partition needs to be resized. Most tutorials, say boot up a live gparted iso to adjust it BUT… there’s an easier way. This assumes you’re dealing with a linux install and it has a gui. In this case, I went and installed gparted in the virtual machine and resized the partition from there.
How?
I opened the app store and searched for gparted

Clicked, “install” and waited.
Now open Gparted from the applications in the upper right. Other linux OSes you can search for the app or open it from terminal.
With Gparted open, select the partition you want to resize and then the resize button. It’s the only button available if you only have one partition.

Now you can drag the slider to the new size over the grey area. See image resize 1 verses image resize 2.


Click “Resize” and then the green check mark. Click “Apply”. It should now be resized!.

You should reboot your machine afterwards.
Now you have a resized virtual machine.
Have an amazing builditlinux day!
