 by
by Going to assume you have basic knowledge and are able to get to your one time boot menu or enter your bios to select your boot device. Once you’ve selected the boot device and booted it, you will be greeted with this screen:
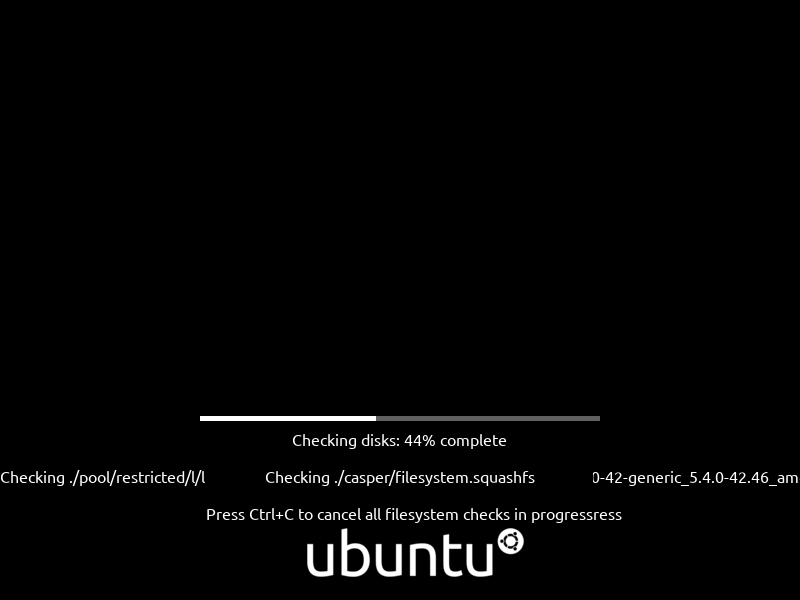
This is Ubuntu checking the integrity of the installation file. Eventually you’ll get the installer screen.
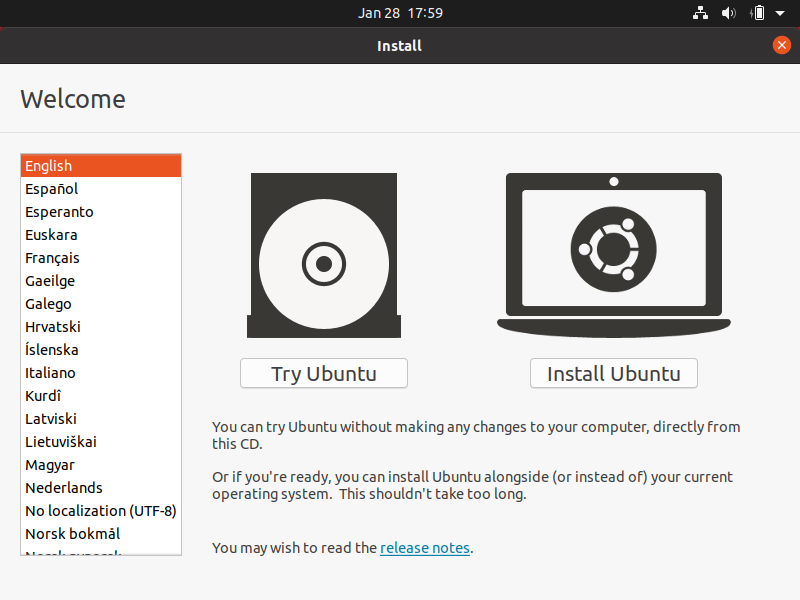
In our case, we’re going to install Ubuntu. Of course you can try it first if you’d like.
Select your language and then select “Install Ubuntu.”
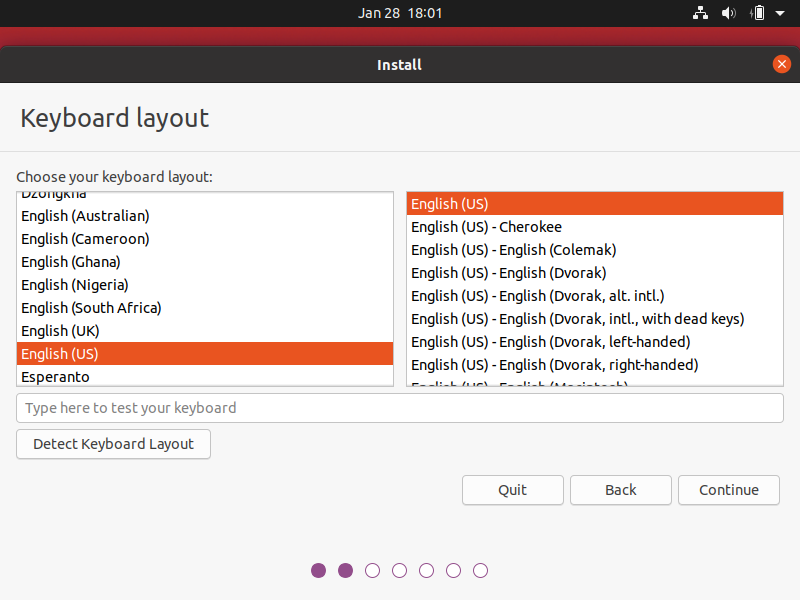
Now select your keyboard and language. Then click “Continue”
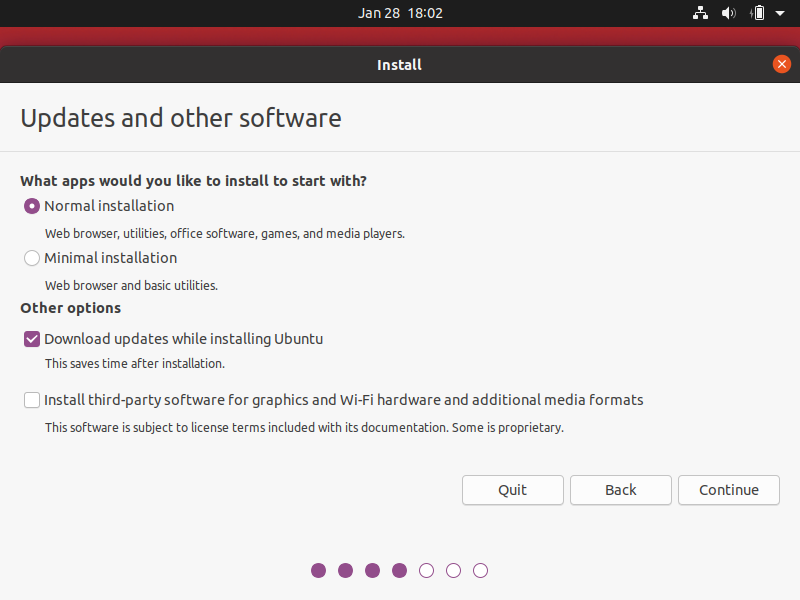
Now you get the choice to choose what you want to install. In this case and I think in most cases, you’ll want to select “Normal Installation”
Then you get the choice of updating as it installs. This is a good idea and highly recommended.
Last option is to install third-party software for graphics and Wifi. It’s up to you if you want to do this. In this case, I’m going to install them.
Click “Continue.”
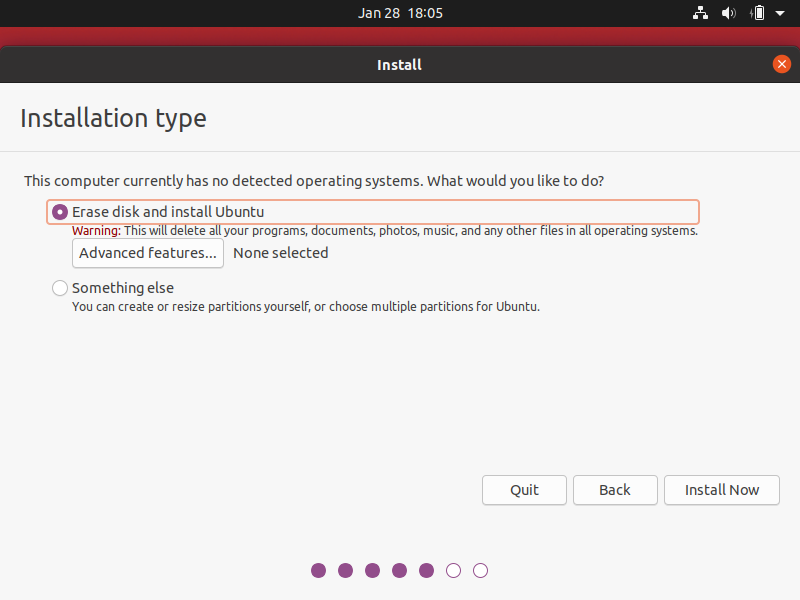
Now this is where it get’s interesting. You have to decide how you want to install your Ubuntu installation. In this case we will be doing a clean install, meaning, wiping the hard drive.
*If you have an operating system already installed, please make sure you understand what you’re doing. You must have a seperate partition or hard drive to install any linux distro in order to have a dual boot system. Understand you may lose data if you do this wrong. This is for informational purposes only.*
*If you don’t care about your other operating system and want to wipe the hard drive. Follow the instructions below.*
If you need to do dual boot or custom partitions, select, “Something else.” In our case it’s going to be “Erase disk and install Ubuntu.”
Then click “Install Now”
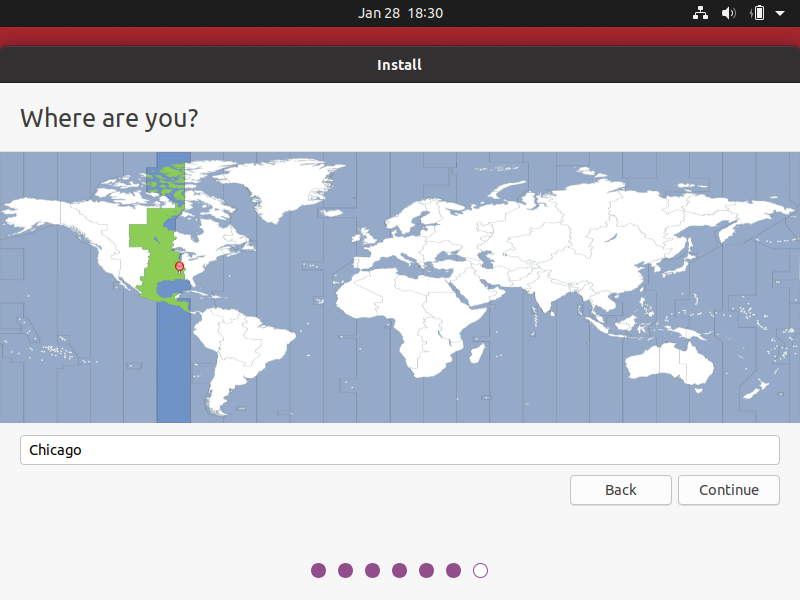
Before the install begins, you have to select your timezone.
Click “Continue” when you’ve selected the proper timezone.
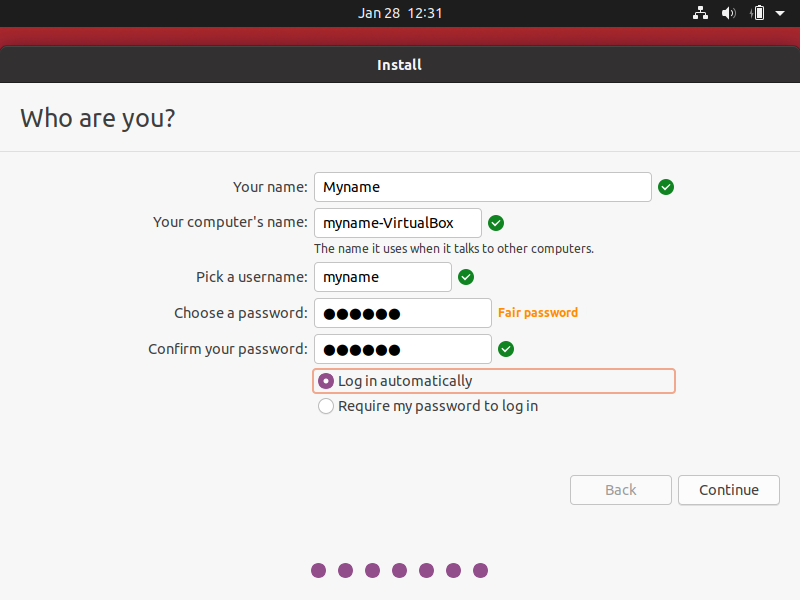
Lastly, before the install begins, you need to setup your name, username, hostname, and password. You also get to select if you want to “log in automatically” or “require password at login”. From a security stand point, requiring a password is best. Because this is a test machine, we’ve set it to “Log in automatically”
Click “Continue”

Now the install happens!
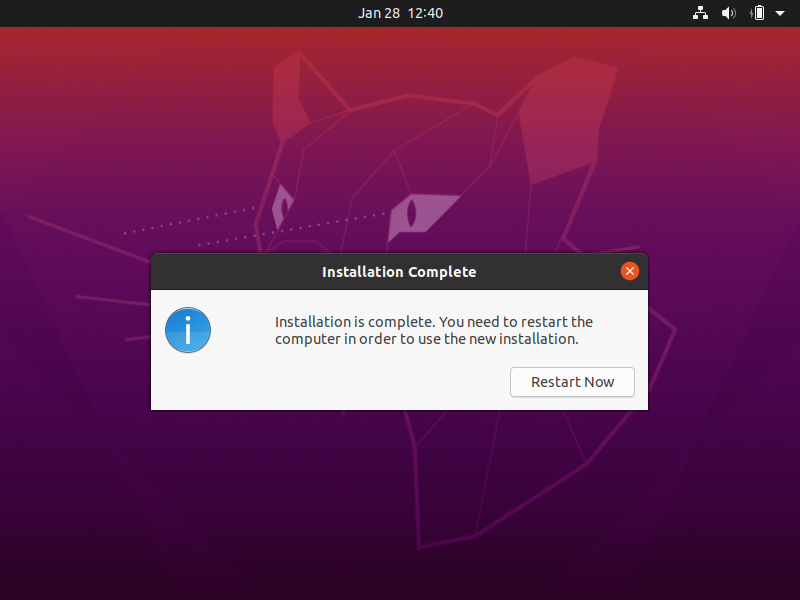
After the install completes you’ll see the above screen.
Click “Restart Now”
Make sure to remove your installation media when you reach the bios screen.
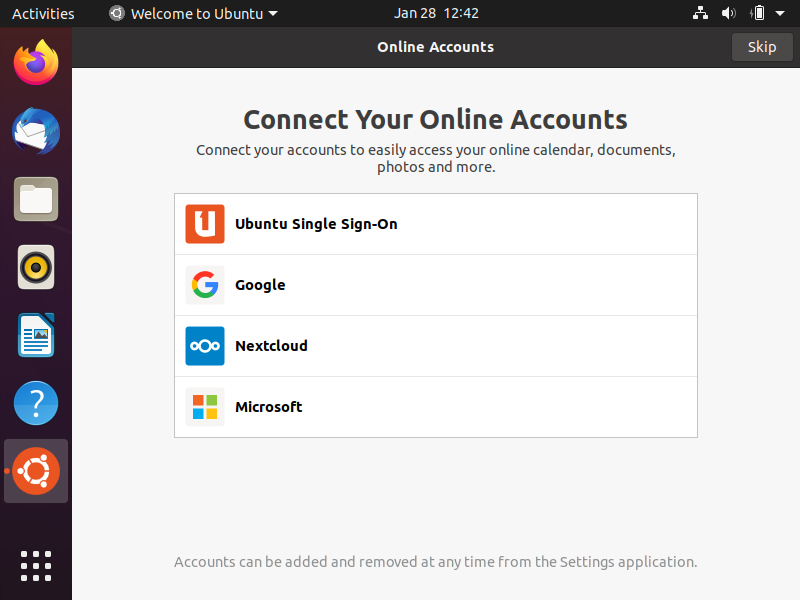
After logging in you’ll be greeted with a connect your online accounts. Connect any accounts you’d like. In our case, we will skip this.
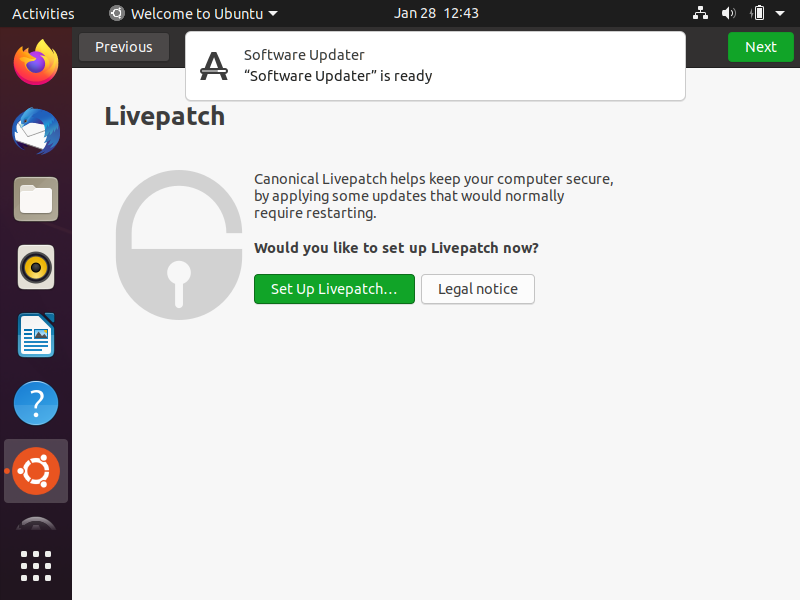
Now you’ll setup Livepatch. This makes sure your system has the latest system patches. It’s recommended to setup.
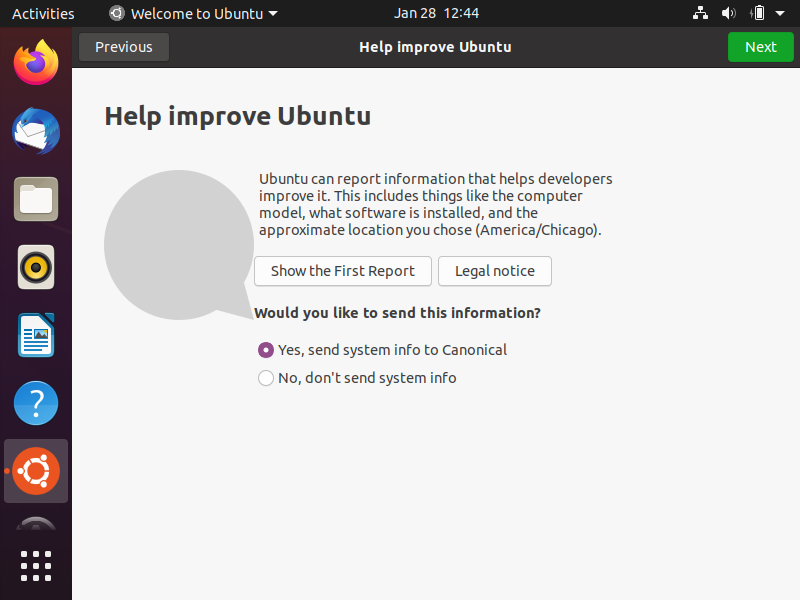
Now you get the chance to submit error reports to Canonical (The company that created and updates Ubuntu).
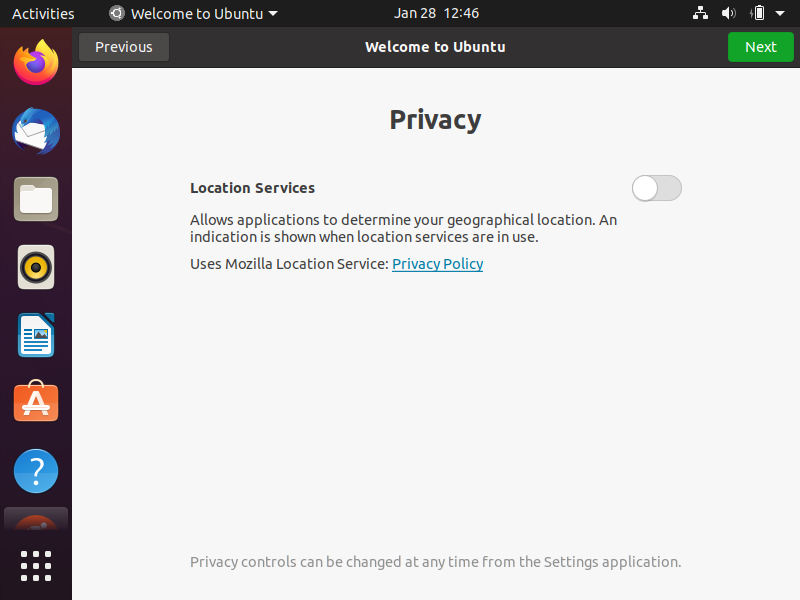
Set your Privacy settings next. This determines your location which is nice to have but of course it’s up to you.
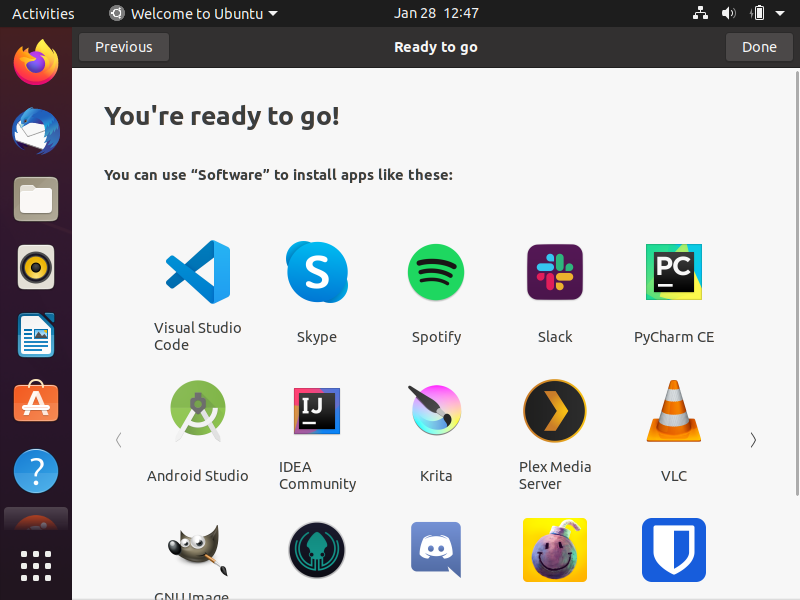
Now you’re all set to enjoy your new Ubuntu installation!
If we missed anything, make sure to leave a comment below.
If you want to support this site and need a web host, consider Digital Ocean. Get a $100 credit when you sign up today!